Subscribe to the Quilt Blocks Digest newsletter for updates, special offers & exclusive content!
- Home
- Other Quilt Blocks
- Four Patch
Four Patch Quilt Block Pattern Tutorial
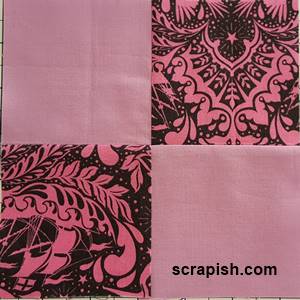
A perfectly matched center on a four patch quilt block can be tricky to achieve. See how to get it with step-by-step instructions for this scrappy traditional block!
Each square is often a single piece of fabric. For more variety use several patches of fabric to make up one square.
The four patch is an almost perfect block. It can be made in any size. In the traditional simple four patch each square is the same size.
So, you can cut each square in odd or even numbered sizes - 2 inch, 3 inch, 4 inch, 5 inch, etc. to get the block size you want.
Four Patch Block Fabric Requirements
Use two different color fabrics, commonly a light and a dark. In this tutorial I have designated the fabrics as follows
- Fabric A = primary, or focus (print fabric)
- Fabric B = background (pink solid fabric)
Four Patch Block Measurements
Here's a simple calculation to determine the size to cut the squares...
finished block size divided by 2 plus 1/2 inch seam allowance = cut square size
- 6 / 2 = 3 + 1/2 = 3 1/2
Here's a chart to use for cutting squares for some common block sizes...
|
Finished Block Size |
Starting Squares Size (Cut 4) |
|
4 inch 5 inch 6 inch 8 inch 9 inch 10 inch 12 inch |
2 1/2 inches 3 inches 3 1/2 inches 4 1/2 inches 5 inches 5 1/2 inches 6 1/2 inches |
4 Patch Quilt Block Layout
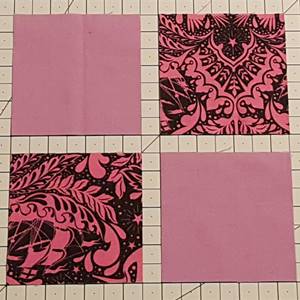
This block is laid out on a 2 x 2 grid: 2 rows and 2 columns (see photo in Step 1).
Four Patch Quilt Block Pattern Instructions
Step 1 See the cutting chart above and based on your chosen size, from Fabrics A and B cut 2 squares. Arrange two squares side-by-side in two rows.
Step 2a Sew the block row by row.
Row 1: With right sides together, place the square from Column 2 on top of the square Column 1.
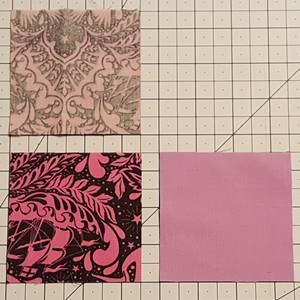
Step 2b Sew the squares together using a 1/4 inch seam along the right side of the squares.
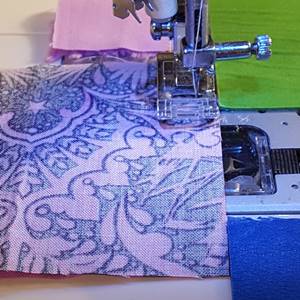
Step 2c Sew a few stitches beyond the squares. Do not remove squares from sewing machine. Leave the needle down.
Row 2: With right sides together, place the square from Column 2 on top of the square from Column 1 as in Step 2a.
Place these squares under the press of foot. Sew the squares together using a 1/4 inch seam.
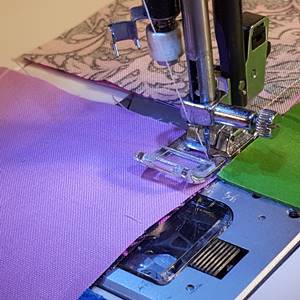
You have just chain pieced the two rows of squares.
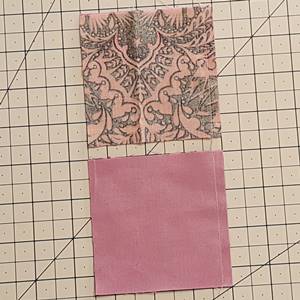
Using scissors or your rotary cutter, clip the thread between the squares to get ready for the next step.
Step 3 Now we're going to prepare to achieve that tricky perfect center of the block where all four patches meet. Don't stress! With careful preparation it's easy to achieve. :-)
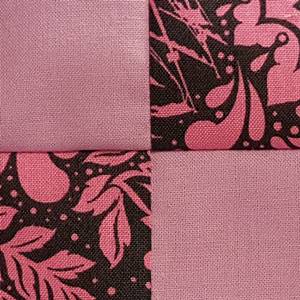 preview of properly pieced center
Step 3a For Row 1 finger press the seam away from the center of the block toward patch two. For Row 2 finger press the seam towards the center of the block away from patch two. See the back side of the rows in the photo below.
If desired, press the seams with an iron and use an alternative starch solution.
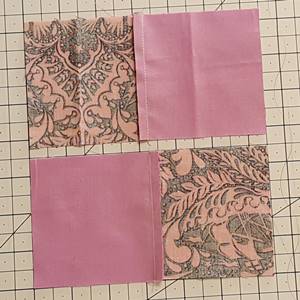
Step 3b With right sides up, make sure that the squares are in the position that you want them to be when sewn together.
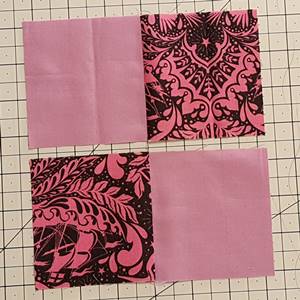
Step 3c Place Row 1 right side down on Row 2. Do this by bringing the top edge of Row 1 down to the bottom edge of Row 2.
Nest (abut) the seams together. Of course, your center edges will be lined up together. Here, mine are showing both fabrics so that you can see how they will nest together.
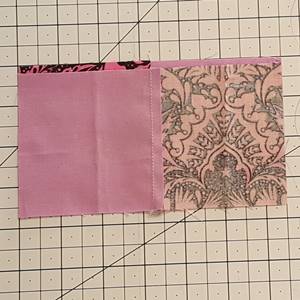
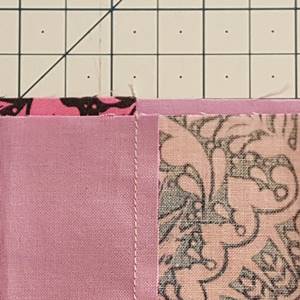 Closeup of nesting seams together
Step 3d Pin the rows together on each side of the seam and near each end the row. Pinning helps to keep the fabric from shifting while it's under the pressure foot.
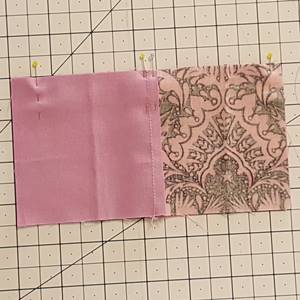
Step 3e Take the block over to the sewing machine and sew the rows together with a 1/4 inch seam.
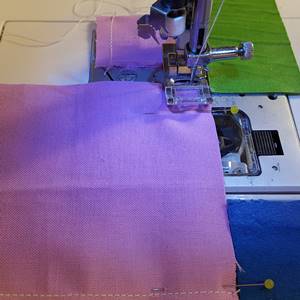 sewing rows together with a 1/4 inch seam
Step 4 Open Row 1 right side up to reveal the perfect center. All four center points meet up nicely (there's no gap where they meet)!
Finger press the seam between the rows upward or downward.
When using this block in a quilt be sure to press the long center seam of every other block in opposite directions so that they will nest together in the row.
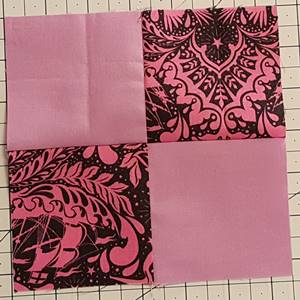 the perfect center
Give all of the seams a final press with the iron. For this block I pressed the seam downward. Here's how the block looks on the back.
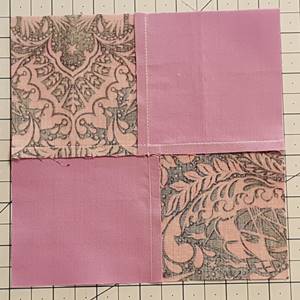
The perfect simple four patch quilt block is done. Easy peasy! :-)
Scrappy Four Patch Quilt Blocks
Wanna make four patch quilt blocks even faster? First make a strip set with two fabric strips. Cut them same size as the starting squares noted in the above cutting chart. Then, subcut the strips in the same measurement.
For example, for a 4 inch finished size four patch, cut 2 (2 1/2 inch x WOF) strips. Stitch them together along the long side. Press the seam to one side. Subcut the strip into 4 1/2 inch squares.
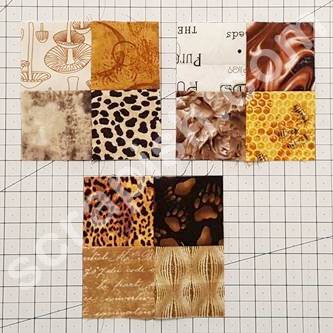 a sampling of scrappy 4 patch quilt blocks
In the scrappy four patch quilt blocks, four different WOF strips were used.
For an interesting and dynamic take on the 4 patch, try the disappearing four patch quilt block.
Subscribe to the Quilt Blocks Digest newsletter for updates, special offers & exclusive content!
You will receive an email asking you to confirm your consent to subscribe. You must click on the confirmation link contained in that email in order to be subscribed and receive emails.
Your email address is never shared. Unsubscribe any time.
