Subscribe to the Quilt Blocks Digest newsletter for updates, special offers & exclusive content!
- Home
- How to Quilt
- Strip Quilting
Strip Quilting Techniques Tutorial
Strip quilting begins with how to make strip sets to make quilt blocks faster. Beginners, learn first, then use an easy quilt pattern to make a quilt. It's super simple!
Quilting with strips is fun, easy and makes great scrap quilts!
You can do a lot with strips – make a strip set, cut it up and use the parts (or pieces) in a quilt block.
A strip set is two or more strips of fabric sewn together lengthwise. It is usually quite long - the width of the fabric. But, it does not have to be.
Strips can also be used to make an easy quilt.
Jellyrolls, or 2 1/2 inch strips, make this even easier! They are already cut for you. Just sew enough – say 20 or so - of them together until the length is long enough for baby quilt.
Of course, you can use yardage too. From yardage you can cut your strips any width you choose.
When you make a quilt with only strips, the quilt pattern may be more interesting if you vary the width of the strips or use a number of different fabrics.
In this tutorial, I am using 3 different fabrics designated as follows to make a strip set
- Fabric A = golden yellow (mottled)
- Fabric B = print
- Fabric C = aqua (solid)
When cutting strips from yardage, we usually cut from selvage to selvage. This is known as the width of fabric, or abbreviated, WOF.
The WOF will vary among different manufacturers and fabric lines. So, some of your fabric strips will be longer than others. And, this is okay.
There are a few techniques to learn for successful strip quilting. Starting with how to make a strip set.
How to Make a Strip Set
Step 1a Get a Straight Edge and Cut Strips. Cut a straight edge on your fabric. Cut WOF strips according to your pattern. Here, I cut three strips in different widths - 2 1/2 inch, 3 1/2 inch and 1/2 inch - as examples.
(Note: here's a refresher on how to get a straight edge on fabric and how to cut strips.)
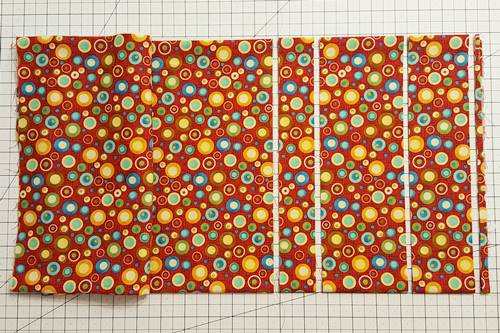
Step 1b Cut All Strips Required for Strip Set. Cut the number of strips from the different fabrics as called for in your pattern.
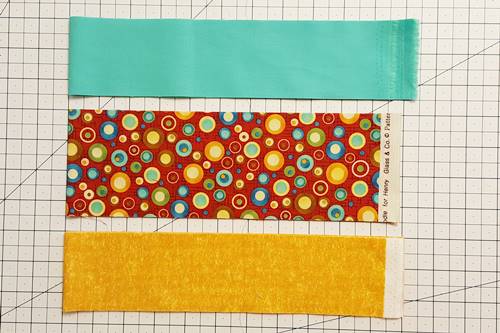
Step 2a Sew the strips together in pairs. With right sides together place Fabric A on top of Fabric B. Align one of the selvage ends.
Align the right raw edges of the strips. (You can place a few pins at the beginning of and along the length of the strips if you prefer. I did not.)
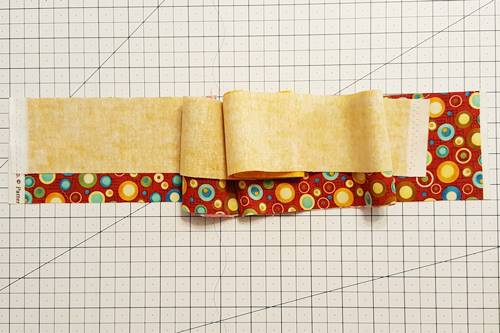
Sewing Strips Together
Step 2b Sew the strips together using a 1/4 inch seam along the right side of the strips.
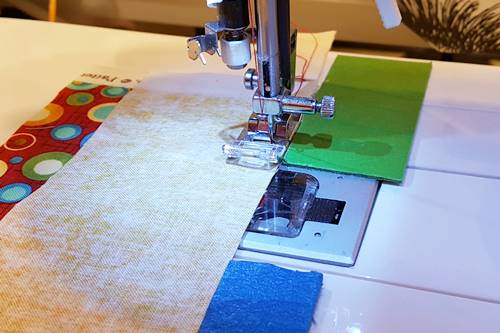
Step 2c Your top selvage edges should be aligned, but the bottom selvage edges
may not meet because your fabric strips may not be the same width.
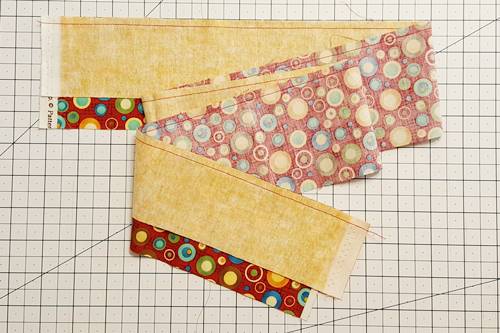
Step 2d Open the strip set so that the right side of both fabrics face up. Finger press the seam towards the darker fabric (or as stated in your quilt pattern).
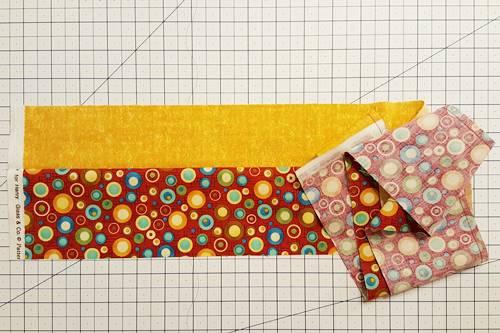
Step 2e With right sides together, place Fabric C strip on top of Fabric B, aligning a selvage edge of Fabric C with the aligned selvage edges of the other fabrics. (Pin the ends together if you prefer.)
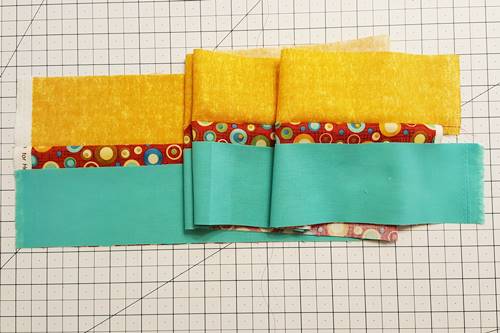
Step 2f Sew the strips together using a 1/4 inch seam along the right side of the strips.
With this strip of fabric, I am sewing the two strips together from the opposite direction of the previous strip that I stitched. In this case, it happens to be from the end where the strips are uneven.
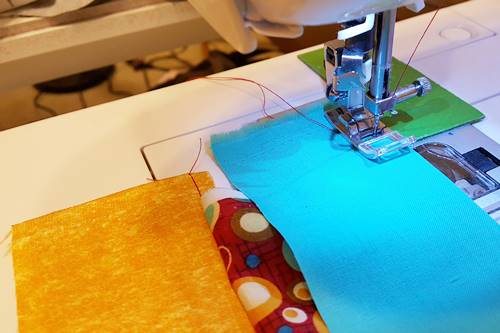
Strip Quilting Tip: Alternate the sewing direction of each strip that you stitch. The reason to do this is to help keep the sewn lines straighter, which make for a straight strip set, no curving or bowing seams. (This is explained in the video at the end of this tutorial.)
Step 2g Here, you can see how both ends of the strip set work out.
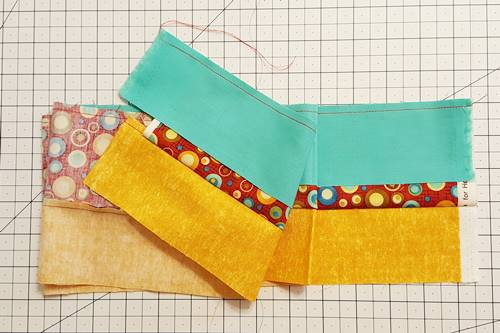
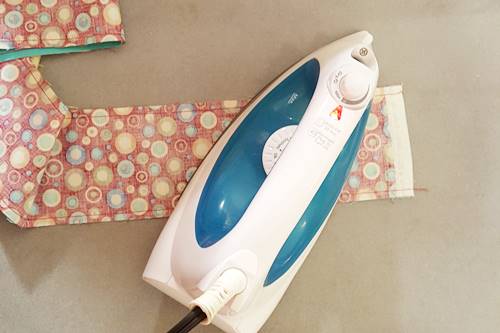
Step 3a Iron Strip Set. First, set (relax, straighten) the seams by pressing both of the seams from the wrong side of the fabric.
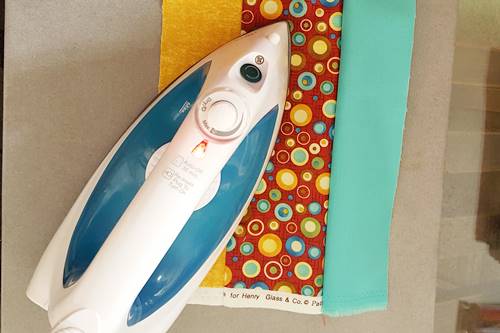
Step 3b Open the strip set so that the right side of both fabrics face up. Press the seams towards the darker fabric (or as stated in your quilt pattern).
Step 4a Put the strip set flat on your cutting mat. Place a horizontal measurement line of a quilting ruler along one of seam lines. With a rotary cutter, cut off the selvage edge of the strip set, making a straight edge.
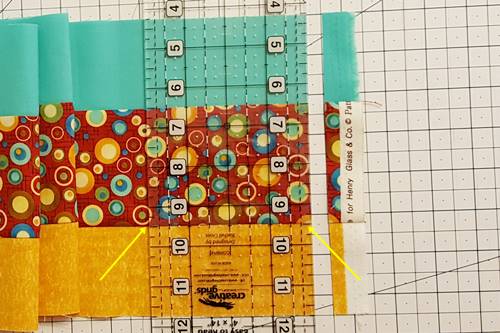
Step 4b Here's a close-up of the quilting ruler placed on the lower seam line.
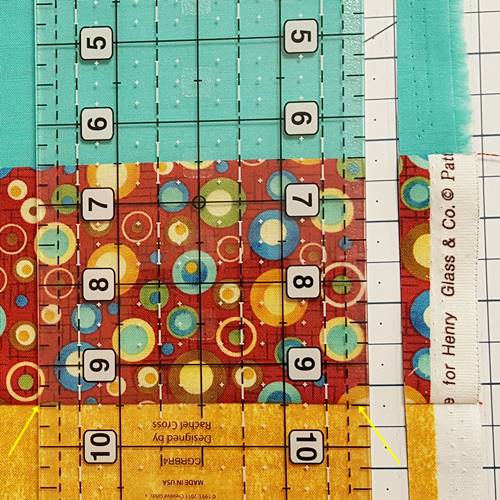
Step 4c If necessary, flip the strip set in the direction that makes it easy is for you to cut along the straight edge.
Again, align a horizontal measurement line of the quilting ruler along the lower seam while aligning the vertical measurement line along the straight edge of the strip set for the width that you need.
Cut the strip set along the edge of the quilting ruler. This is called a subcut.
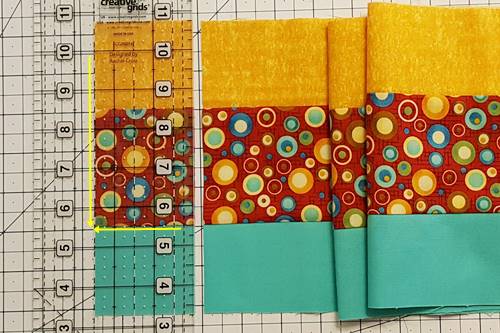
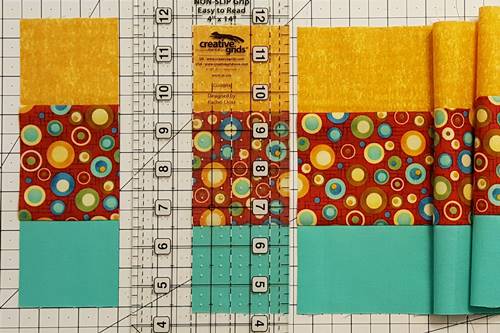
Step 4d To continue making subcuts, align the ruler along the straight edge as in Step 3c for the width that you need and make a cut.
Strip Quilting Techniques Video
Check out this video to review some of the techniques used above and to
discover more strip quilting techniques, especially regarding pressing
your strip set.
Use Strip Quilting Techniques
Use this strip quilting technique to make an Irish chain quilt block and then the easy single Irish Chain quilt pattern.
Subscribe to the Quilt Blocks Digest newsletter for updates, special offers & exclusive content!
You will receive an email asking you to confirm your consent to subscribe. You must click on the confirmation link contained in that email in order to be subscribed and receive emails.
Your email address is never shared. Unsubscribe any time.
