Subscribe to the Quilt Blocks Digest newsletter for updates, special offers & exclusive content!
- Home
- How to Make a Quilt
- 3. Back and Sandwich
How to Back a Quilt Tutorial
How to Make a Quilt Part 3 of 6
See how to back a quilt, make a quilt sandwich step-by-step and get guidelines for how much larger than a quilt top your quilt backing should be.
Every quilt top needs a quilt back! But, how do you make quilt backing and how much larger than your quilt top should your backing be?
In Part 3 (of 6) of this series on making a quilt, you will see how to make quilt backing using a whole piece of fabric and how to put the three layers - backing, batting and quilt top - together into what quilter call a quilt sandwich..
Backing a quilt is the first step to finishing a quilt.
Quilt Backing: How Large Should It Be?
Here are some guidelines for how large quilt backing should be.
- In general, four inches wider on all four sides than your quilt top is enough.
- If your quilting will be very dense (quilting lines one inch or less apart) go up to 6 inches wider on all four sides.
- If the width of the quilt top is 40 inches or less, 2 inches wider on all four sides works if the quilting lines are not dense (quilting lines greater than one inch apart).
- A longarm service will usually ask that your backing be four inches wider all around than your quilt top.
In short, your backing should be at least 2 to 4 inches larger than your quilt top on all four sides. The larger the quilt top – full, queen, king sizes – the closer to 4 inches all around you want to be.
Simple Squares Quilt Pattern Backing
Your simple squares quilt pattern calls for 1 3/4 yards of 44/45 inch wide quilting cotton to be used as backing.
Because your quilt top is approximately 40 inches and the width of the backing fabric is 44/45 inches you won't need to piece your backing. You should have about 2 inches on the left and right sides of the quilt top.
The length of your quilt top quilt top is approximately 56 inches. The length of 1 3/4 yards is 63 inches. Plenty of fabric beyond the top and bottom of the quilt.
Your quilting design (Step 5) will be a diagonal crosshatch with the quilting lines spaced about 2 inches apart.
Therefore, you can use just a single piece of 44/45 inch wide quilting cotton.
Get it? Excellent!
Space to Finish Your Quilt
You'll want to find the surface with plenty of space on which to lay your backing.
This can be floor space or a kitchen or dining room table. I usually use my dining room table but for demonstration purposes for this tutorial I'm using a TV tray table as a substitute. I want you to be able to see all the steps!
Now, let's see how to back a quilt...
How to Back a Quilt Instructions
This process works for any size quilt backing fabric - whole or pieced.
Step 1a Take the length and width measurements of your table surface and find its center. Then, mark that spot.
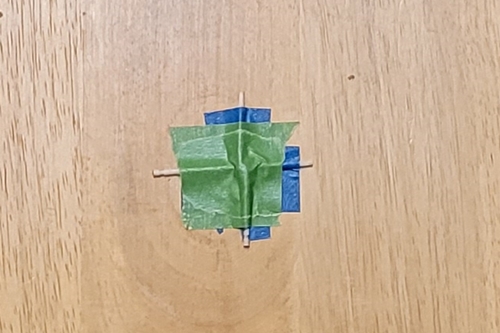
I do this by intersecting to toothpicks (I have also used a coin). Lay the first one so that its center is on the center spot of the table.
Using painters tape, tape it to the table. Break the second toothpick in half and abut the sides to the center of the first toothpick and tape it.
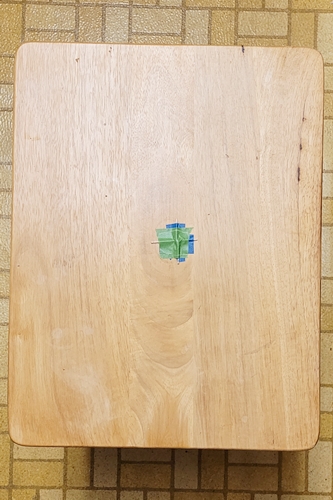
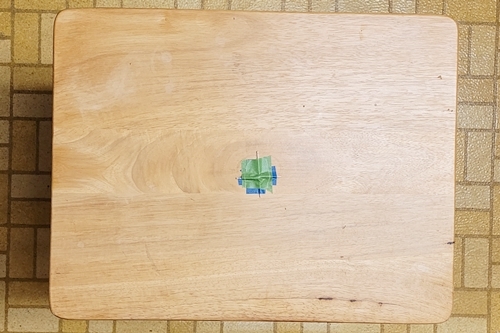
Step 1b It doesn't matter whether you orient the quilt horizontally or vertically on the table. The size of your quilt may dictate which orientation is easiest to work with.
Step 1c Here's a close-up of the marked center of the table. (It may not be pretty, but it works!)
Press in Registration Marks
Your fabric was cut from the bolt folded in double layers. Unfold it into a single layer. Using steam, press out any wrinkles and the center crease (not pictured).
Now, press in registration marks down the center and across the middle of the fabric. Use these as guides to center the backing fabric onto the table and the batting and quilt top on to the backing fabric.
Let's continue our lesson on how to back a quilt.
Step 2a From top to bottom fold the backing fabric in half. Align the edges (whether raw or selvage). (A rumple in the fabric is shown here so that you see the two layers.) Press a crease into the fold.
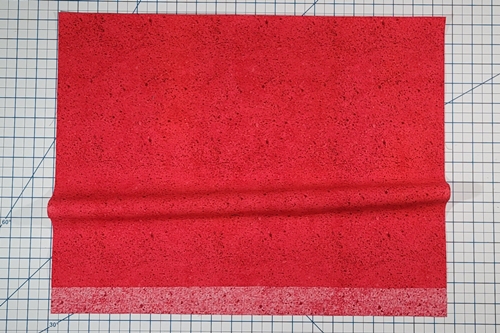
Step 2b From side to side fold the fabric in half. Align the top creased edges, creating a fold down the center. Press a crease into the fold.
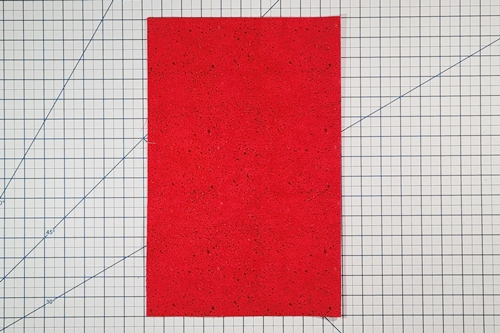
Center Backing
Step 2c With the backing fabric still folded into quarters, align the top right corner with the center of the toothpicks (or whatever you used to mark the center of the table).
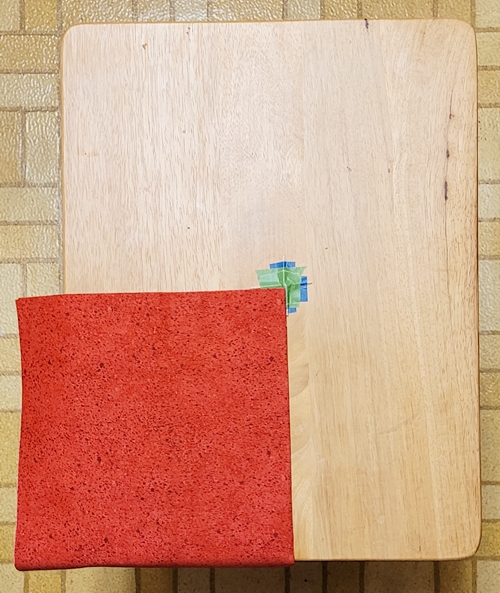
Step 2d Unfold the right quarter of the fabric onto the table surface.
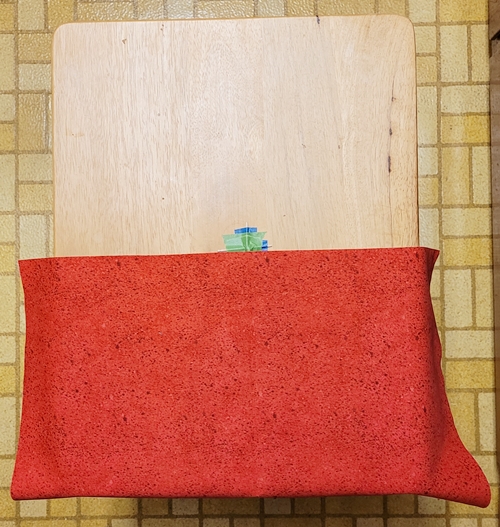
Step 2e Unfold the top half of the backing fabric onto the table. Make any necessary adjustments to align the backing fabric's center registration marks with the marked center of the table. Using your hands smooth out the backing fabric in all directions.
(I think this step shows you how to back a quilt.)
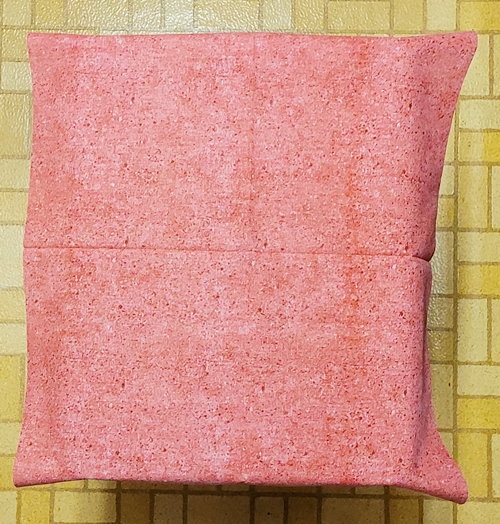
Step 3 Use binder clips to secure the backing fabric to the table. Place the binder clips as needed along all four sides. The fabric should be smoothed out but not stretched. Secure with bull clips to hold in place firmly.
Do not stretch the fabric drum tight. Leave a bit of give.
If you're using the floor you will need to use T pins instead of bull clips.
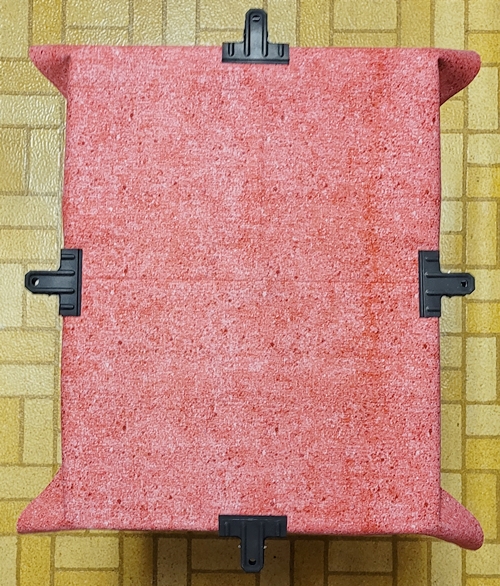
Now, your backing is ready to have the batting and quilt top pinned or adhered (using basing spray) to it. Learning how to back a quilt doesn't have to be hard or complicated!
Center Batting
Step 4 Repeat Steps 2a - 2e to center batting over backing.
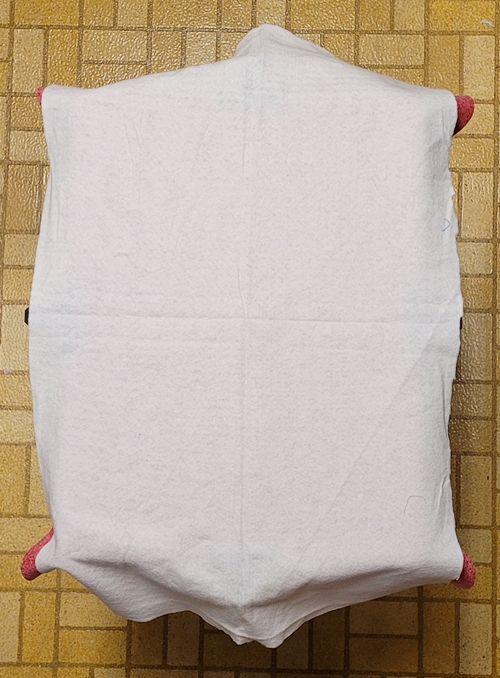
Note: Remove your quilt batting from its packaging a day or two ahead of using it and unfold it to help relax any creases. You can trim off the excess batting prior to pressing in
the registration marks. Excess batting is the batting that extends past your quilt top size plus at least 4 inches on all four sides.
Center Quilt Top
Step 5 Repeat Steps 2a - 2e to center quilt top over batting and backing. Readjust the bull clips to secure all three layers (the quilt sandwich) to the table.
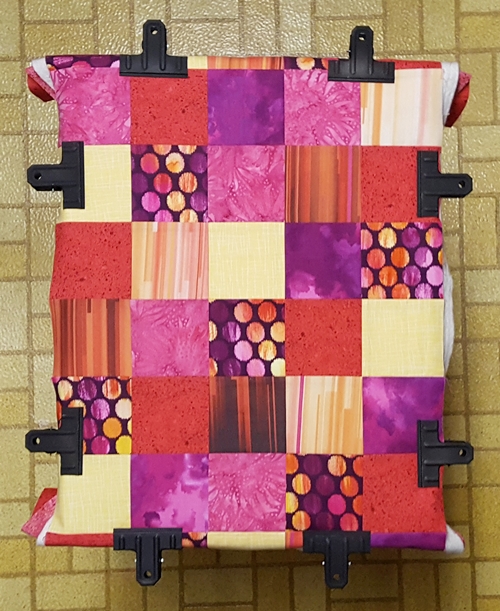
Now, that's how to back a quilt!
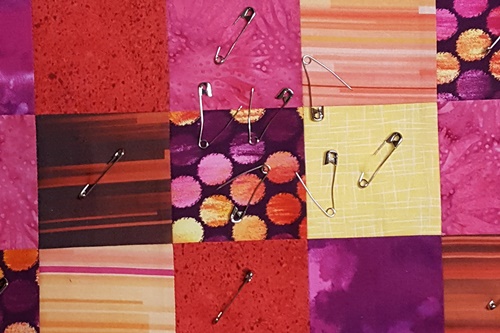
Step 6 Using quilting pins, pin the three layers together. Space the pins about 4 inches apart. Your palm makes a great spacing guide.
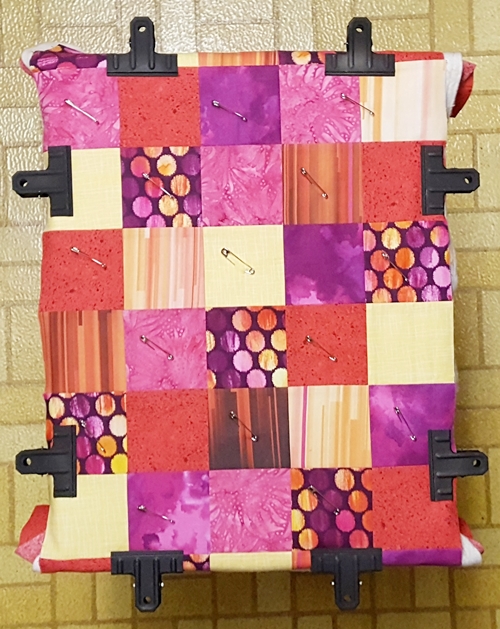
Step 6a Here's a close-up of quilting pins. Think of them as safety pins with a curved bar and spear.
Quilt Sandwich
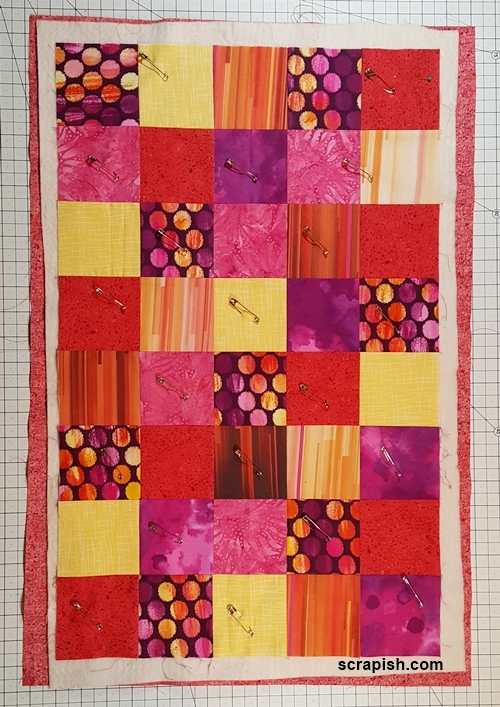
Here's a photo of the quilt sandwich with its three layers - quilt backing, batting, top - pinned together.
I moved the quilt sandwich to my cutting table to show you clearly how it is pinned. Also, I will do the prep work (shown in the next step) for quilting the quilt from here.
As for you, leave your quilt sandwich where you assembled it - table or floor. You will do the prep work for quilting your quilt from there.
Next Step...
Now that you know how to back a quilt, your next step is How to Make a Quilt Part 4: Quilt the Quilt.
At a Glance...How to Make a Quilt in 6 Steps
- Make the Blocks
- Stitch the Blocks Together
- Back and Sandwich
- Quilt the Quilt
- Make the Binding
- Bind Quilt
Subscribe to the Quilt Blocks Digest newsletter for updates, special offers & exclusive content!
You will receive an email asking you to confirm your consent to subscribe. You must click on the confirmation link contained in that email in order to be subscribed and receive emails.
Your email address is never shared. Unsubscribe any time.


