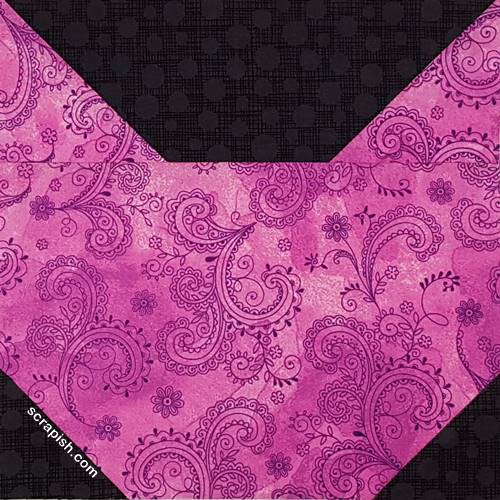
Subscribe to the Quilt Blocks Digest newsletter for updates, special offers & exclusive content!
- Home
- Other Quilt Blocks
- Cat Quilt Block
Cat Quilt Block Pattern Tutorial
Make a 12 inch cat quilt block pattern with squares and rectangles from scraps or strips and see what it would look like in a quilt pattern!
Stitch and Flip Quilting Technique
Talk about the cat's meow… This playful puss is very easy to make.
To make this cat block we'll use a quilting technique called stitch and flip to make ears and to indicate a rump. The rest of the patches are simple squares and rectangles.
If you're not already, familiarize yourself with the stitch and flip method before continuing.
Block Size Cutting Chart
12 inch cat quilt block
|
Fabric X (Gray) |
Fabric Y (Dark Blue) |
|
|
Fabric X (gray) is our cat and Fabric Y (dark blue) is the background fabric.
Cat Quilt Block Pattern Instructions
WOF= Width Of Fabric
Unless otherwise noted seams are 1/4 inch.
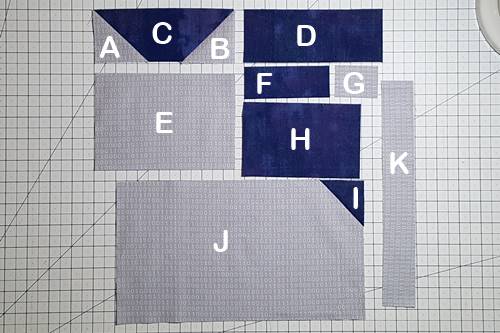
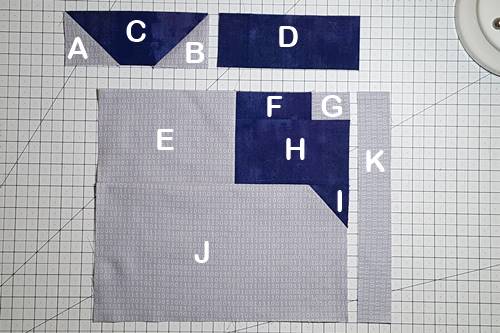
Step 1 Cut the patches according the Block Size Cutting Chart. Layout the patches out as shown in the picture below.
Refer back to this Cat Block Pieces Layout to put together the block.
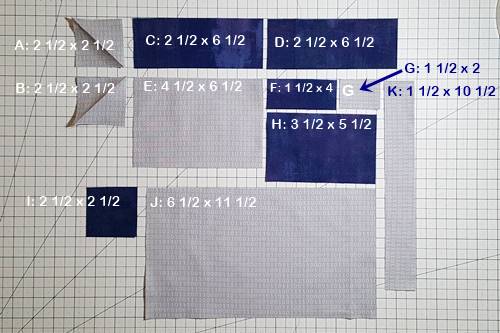 Cat Block Pieces Layout
Step 2 Make the Ears. Press pieces A and B in half on the diagonal. With right sides together, align pieces A and B on the ends of C. Align piece A so that the pressed line faces like a \ (backslash). Align piece B so that the pressed line faces like a / (forward slash). Stitch a seam one or two thread widths south of the pressed diagonal line.
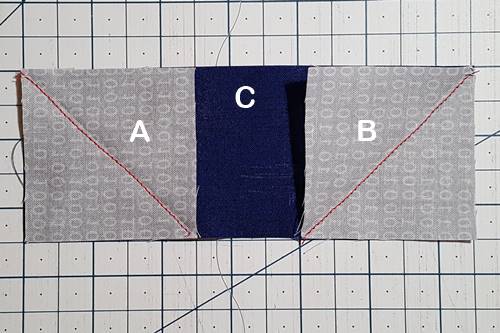
Note: If you use directional fabric be sure to press in the correct direction so that the showing fabric is in the proper position once sewn.
Step 3 Trim the Ears. Trim each corner 1/4 inch from the seam line. Press seams toward Pieces A and B.
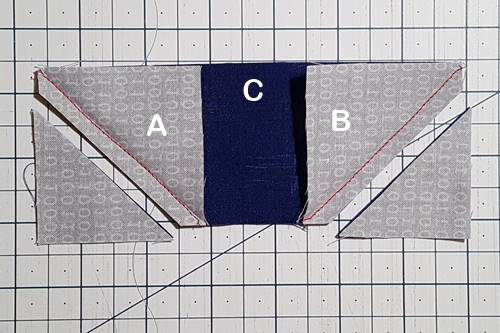
Step 4 Make the Rump. Place Piece I in the upper right corner of Piece J. Place the 1/4 inch measurement line of a quilting ruler on the diagonal center of Piece I. With a pencil draw a line (red line in photo) along the edge of the quilting ruler. This is your stitching line.
(You could also just eyeball this stitching line. Or simply stitch down the diagonal center of Piece I for a larger rump, but I wanted a small rump.)
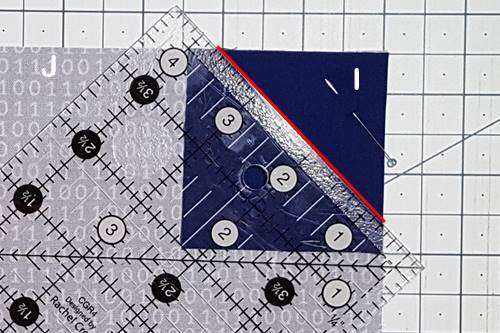
See the stitched line. Trim (not pictured) the corner 1/4 inch away from the stitched line before going to the next step.
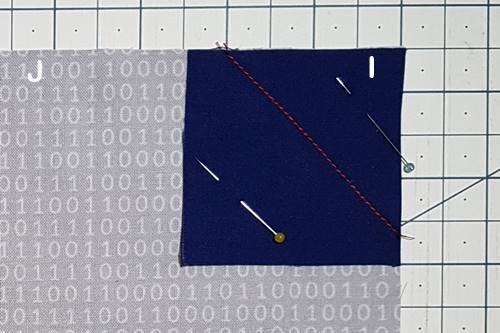
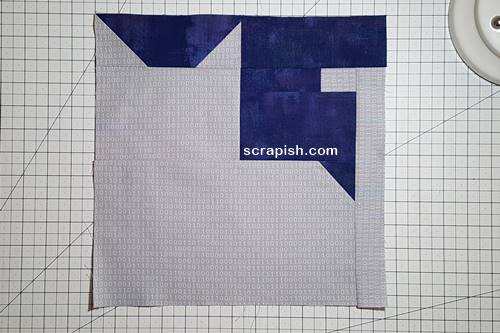
Step 5 Trim the Rump. Flip Piece I right side up and press seam toward Piece I. Align a square quilting ruler along the top and right side edges of Piece J and trim off excess fabric from Piece I.
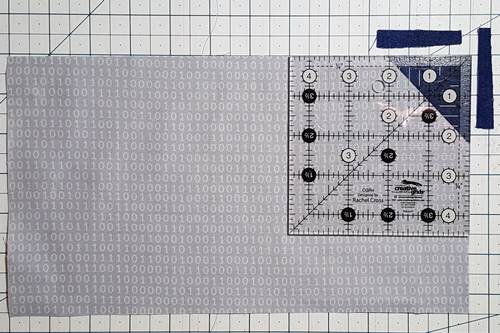
Here's a layout of what your cat quilt block pattern pieces should look like now after Step 5. Let's continue…
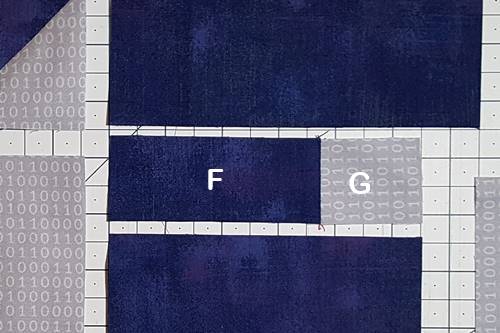
Step 6 With right sides together stitch Piece G to Piece F. Press seam toward Piece F.
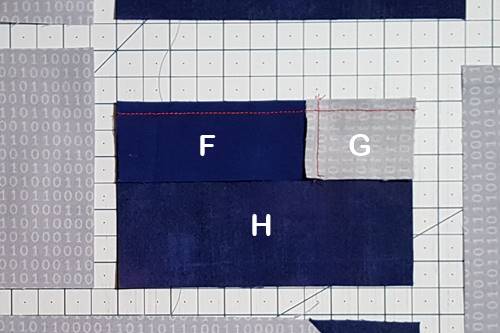
Step 7 Stitch unit F/G to Piece H. Press seam toward Piece H.
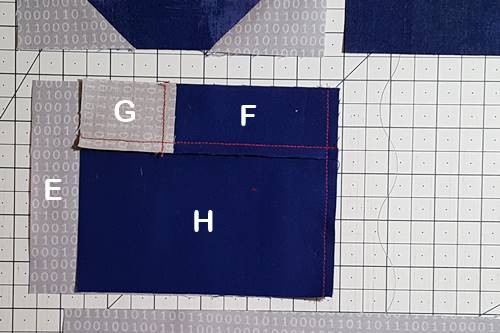
Step 8 Stitch unit F/G/H to Piece E. Press seam toward Piece E.
Step 9 Stitch unit E/F/G/H to unit I/J (Piece I cannot be seen here). Press seam toward unit I/J.
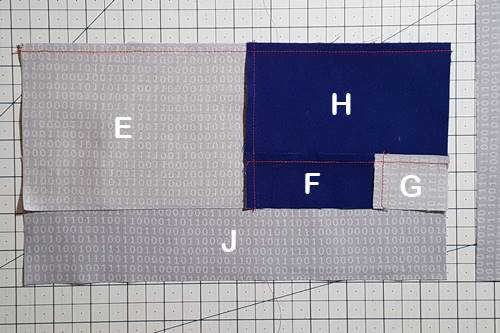
After Step 9 here's what your cat quilt block pattern pieces should look like. Let's continue…
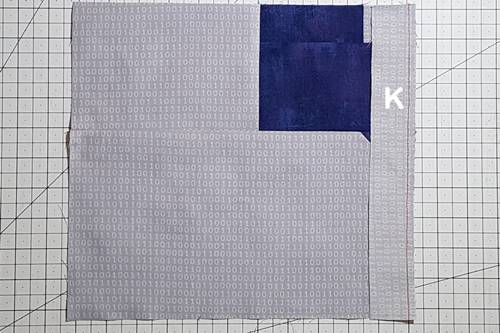
Step 10 Stitch Piece K to unit E/F/G/H/J. Press seam toward Piece K. This completes the "body" of the cat block.
Step 11 Stitch Piece D to unit A/B/C. Press seam toward Piece D. This completes the "ears" of the cat block.
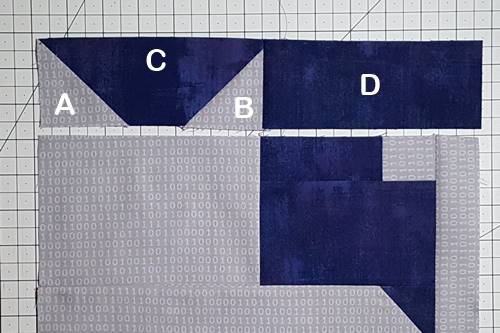
Step 12 Complete the Cat Quilt Block Pattern. Stitch the ear unit to the body unit. Press the seam up, toward the ear unit.
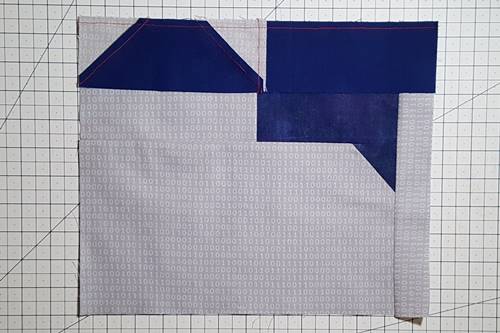
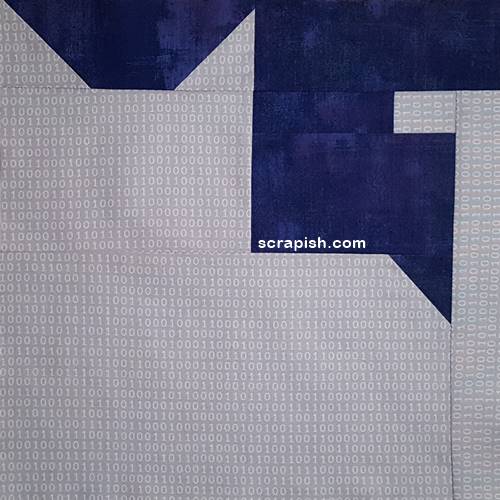
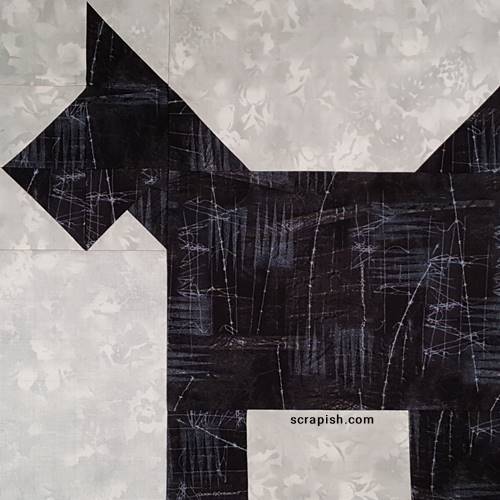
The finished cat quilt block pattern - our playful kitty is done!
Cat Quilt Pattern Idea
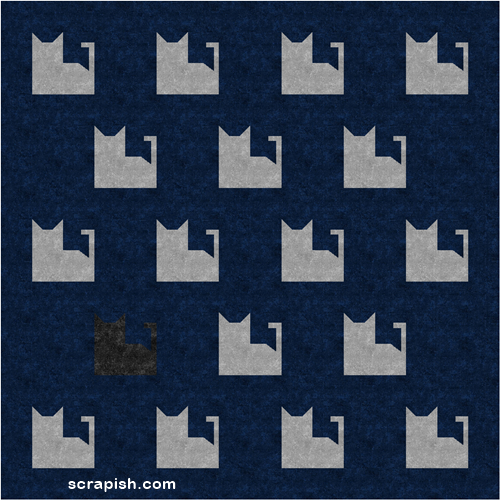
Here's what the 12 inch cat quilt block would look like in a quilt. It alternates with 12 inch plain squares. Between each cat block row is sashing.
The quilt is 84 x 84 inches, almost queen size. It has 18 cat quilt blocks and 17 plain squares. The alternating sashing rows and borders are 6 inches wide.
This version of the cat quilt pattern has a modern sophisticated feel as it uses a mottled gray fabric for all but one cat block and a mottled dark gray/black for one block that seems to recede into the deep midnight blue background.
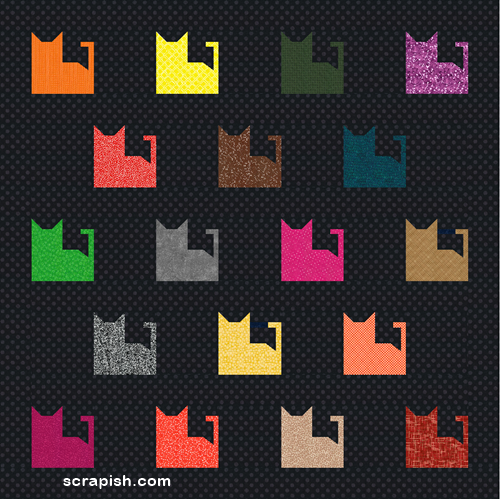
Scrappy Cat Quilt Pattern Idea
Make it scrappy! Use a different fabric for each cat quilt block pattern. The measurement info above is the same for this version which will look great in a child's or teen's room..
Give this cat quilt block pattern a try. It's very easy for beginners!
Subscribe to the Quilt Blocks Digest newsletter for updates, special offers & exclusive content!
You will receive an email asking you to confirm your consent to subscribe. You must click on the confirmation link contained in that email in order to be subscribed and receive emails.
Your email address is never shared. Unsubscribe any time.
